Contents
PSU
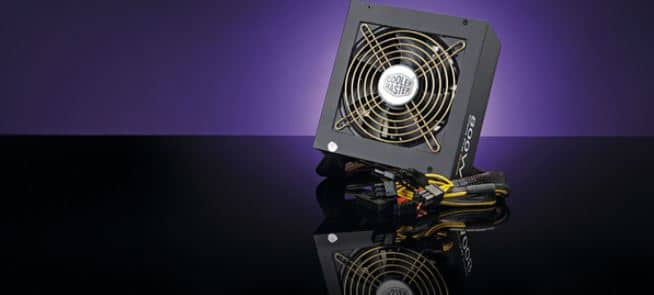
It’s an IT hardware component that converts (AC) high voltage current into (DC) direct current to regulate the output voltage of DC necessary for the latest computing elements. It’s located at the back or the top of a computer. Some of the latest models have power supply units at the bottom back and desktop computers at the back left or right side of the case.
Central Processing Unit
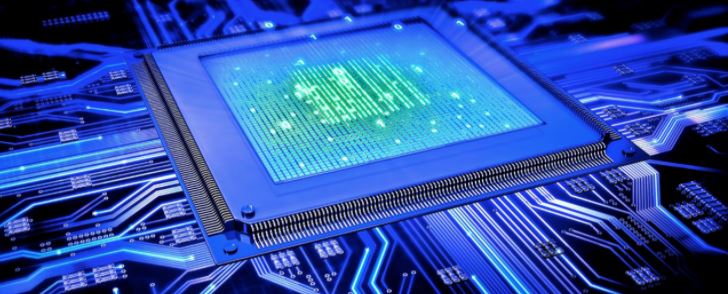
This portion of the computer executes instructions and retrieves them. It’s also known as the processor, which performs all the processing. It’s a powerful calculator and controls instructions. The CPU relies on chipset/ microchips found on the motherboard. Unlike other parts, it also has some pros and cons. You can get better scores and performances out of a CPU. The response time reduces due to overclocking. On the other hand, overclocking can lead to high temperatures and insufficient heat production, damaging your internal components.
Disk Drive Hold
This is a fixed disk or an electromechanical data storage device to retrieve and store digital data with the help of magnetic storage. It also has quick rotating platters with magnetic material coats to store all digital content like pictures, videos, music, documents, and programs.
Solid State Drive
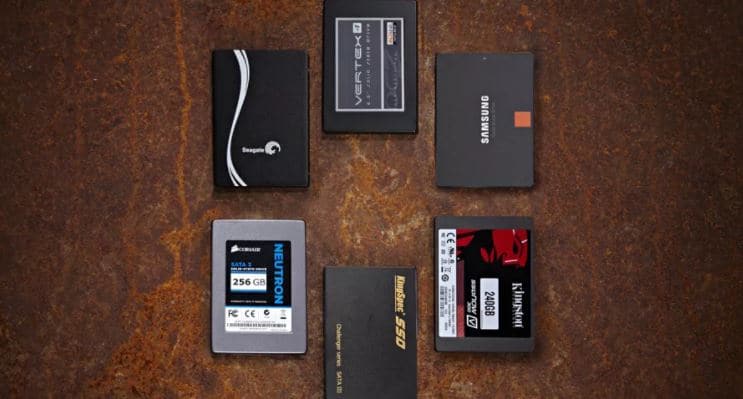
It is another storage device that uses flash memory and inbuilt circuit assemblies to store data. It’s a new generation device, which is faster than the traditional hard disks. The solid-state drives (SSDs ) are durable, lighter, and faster. They use very low energy.
Graphics Processing Unit
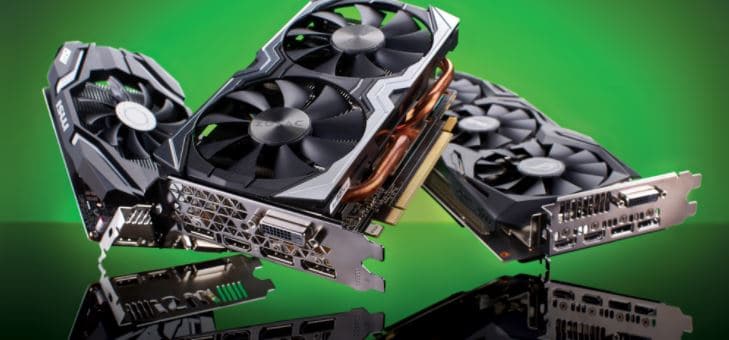
It is a chip or electronic circuit to help graphics display on computers. It makes modern videos and games more effective as per the expectations of the consumers. It focuses on a generation of better images and is an important part of every mobile or computer. Sometimes the GPUs are also referred to as video cards or graphic cards. These cards boost up your GPU speed.
Install Motherboard

After installing the CPU, RAM module, and the cooler, it’s time to fix the motherboard inside the case to the backplate using screws. First, you need to install a 1/0 shield with cutouts for connections and rear ports. This long metal piece helps protect in terms of electromagnetic interference (EMI). You can place a 1/0 shield to the cutouts and place the motherboard at the backplate and fix it to the standoffs with the help of screws. The standoff screws help the motherboard rest atop the backplate safely. Some pre-installed cases are available for motherboards, so tighten the screws to place the board and lower the mobo over standoffs. To ensure safety, lightly pull the sides of the motherboard.
All Buttons
To make sure that your 1/0 power buttons work efficiently, plug in the right cables. You can take help from the mobo installation guide to identify the correct pins and cords before connecting them. Be patient and gentle while performing this part, and don’t bend the pins. You can also plug your USB cord into any slots and line up the pins as per holes. You can install the CPU socket located on the motherboard with a heat sink covering easily. In case you fail to end up with positive results, you can research online or contact good pc builders. Some companies offer links on their site to guide and teach you how to create your pc. You can always call such IT companies for a good gaming experience or a fantastic display of videos, pictures, and documents.
Conclusion
You should be in touch with experienced PC builders if you’re doing this for the first time because they are well aware of the modern components and can help you in backing up your documents and important files using iDrive. If you wish to create your PC on your own, use a handbook, guide, or manual to pick up the right parts and install the CPU, RAM, GPU, motherboard, connecting cables and pins correctly. Handle the components with care, get the tools ready you need, and have a sufficient and appropriate workplace. Read all the instructions carefully. Be calm and patient during the project, don’t jam things, and lastly, the components you buy should be compatible with each other and within your budget. Happy building!